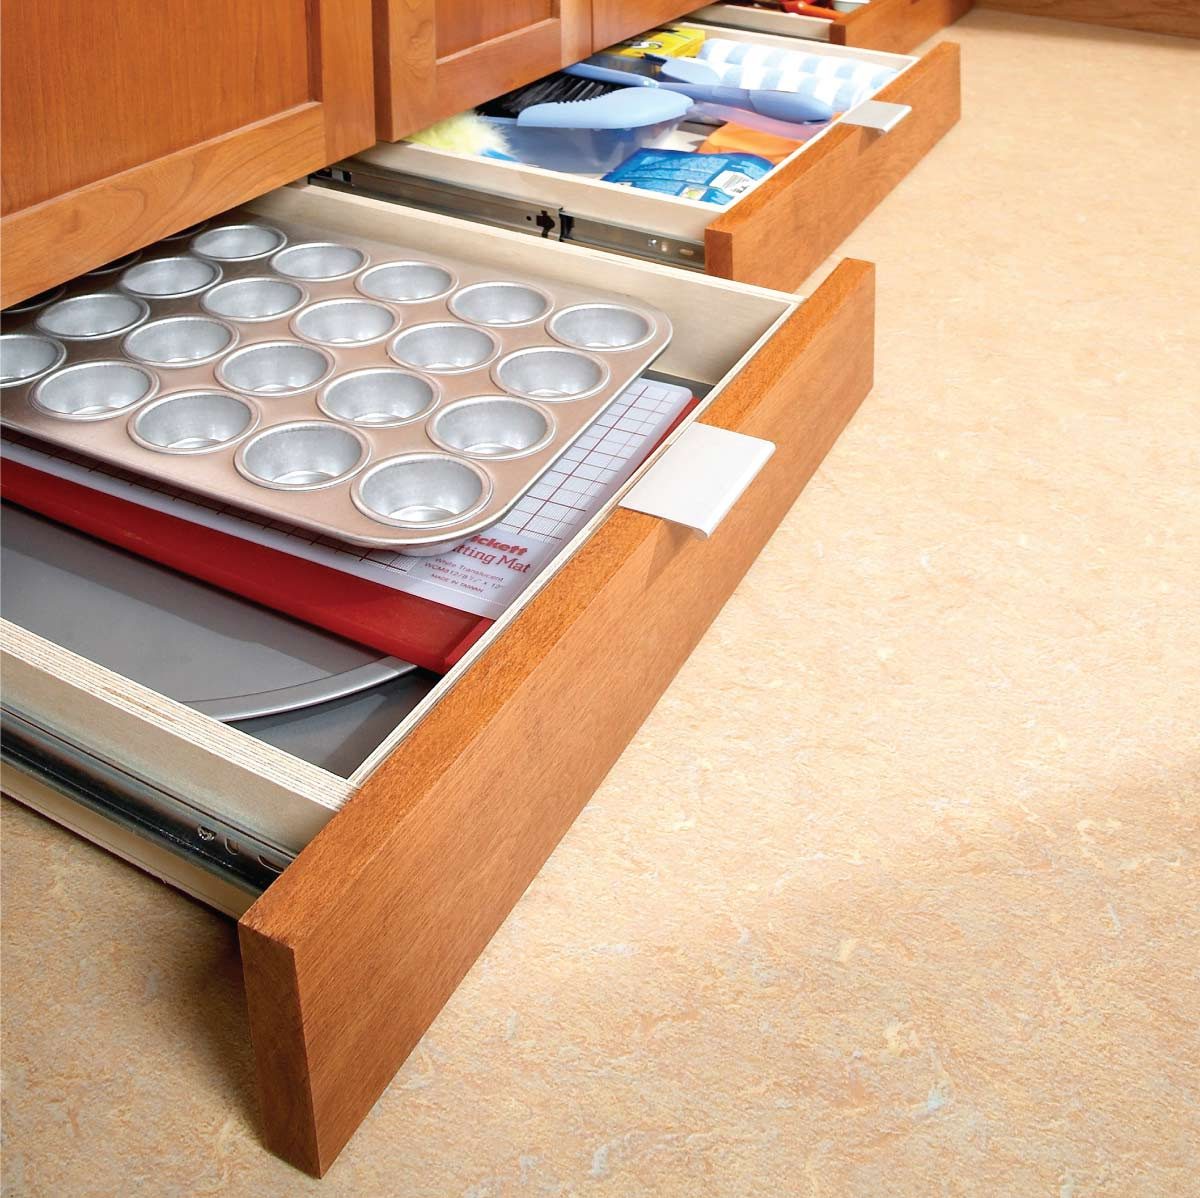
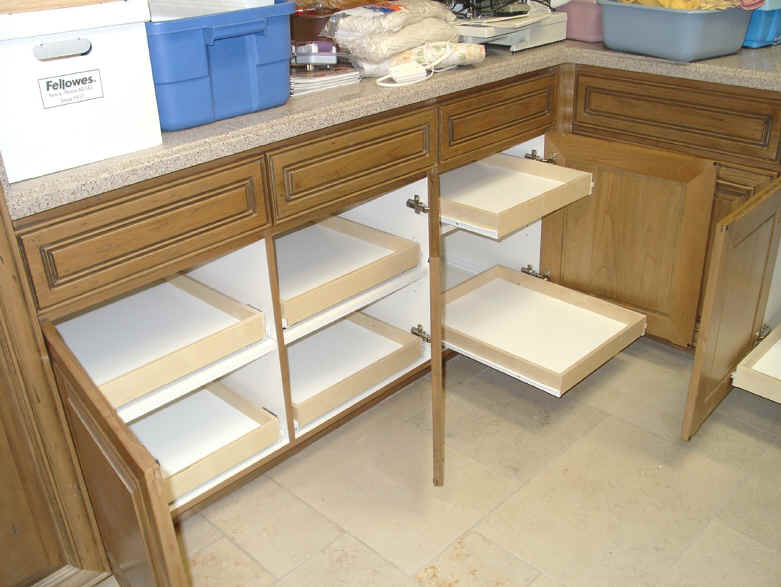
Planning and Preparation

Building sliding drawers for your kitchen cabinets is a rewarding project that can enhance both the functionality and aesthetics of your kitchen. However, it’s crucial to approach this task with careful planning and preparation to ensure a successful outcome.
Measuring the Cabinet Space
Accurate measurements are essential for creating drawers that fit perfectly within your cabinet space. Begin by measuring the width, depth, and height of the cabinet opening, leaving a small gap for clearance. Consider the thickness of the drawer sides and the drawer slides when calculating the dimensions. You may need to make adjustments to the drawer size to accommodate the thickness of the drawer box and the drawer slides.
Choosing Drawer Slides
Drawer slides are the backbone of your sliding drawer system, providing smooth and reliable operation. The type of drawer slides you choose depends on the weight capacity of the drawers and the desired functionality. Here are some common types of drawer slides:
* Side-Mount Drawer Slides: These slides are attached to the sides of the drawer box and are commonly used for lighter drawers. They are typically less expensive than other types of slides.
* Under-Mount Drawer Slides: These slides are mounted to the bottom of the drawer box, providing a more concealed appearance. They are suitable for both light and heavy drawers.
* Full-Extension Drawer Slides: These slides allow the drawer to extend fully, providing easy access to the entire drawer contents. They are ideal for drawers that need to be fully accessible.
* Soft-Close Drawer Slides: These slides incorporate a mechanism that slows down the drawer as it closes, preventing it from slamming shut. This feature adds a touch of luxury and protects the drawer and cabinet from damage.
Selecting Materials for Drawer Boxes
The material you choose for the drawer boxes will impact their durability, appearance, and cost. Here are some popular options:
* Plywood: A versatile and cost-effective choice for drawer boxes. Plywood is strong, stable, and can be easily cut and shaped. It’s available in various thicknesses and veneers to suit your needs.
* Medium-Density Fiberboard (MDF): A smooth and consistent material that is ideal for painting or laminating. MDF is less expensive than plywood but may not be as durable.
* Solid Wood: A premium choice for drawer boxes, offering exceptional durability and a natural aesthetic. Solid wood is available in a wide range of species, each with its unique characteristics.
Creating a Cut List and Gathering Materials
Before you begin cutting and assembling the drawer boxes, create a detailed cut list that specifies the dimensions and quantities of each piece of wood. This will help you to ensure that you have all the necessary materials and that they are cut to the correct sizes. You will also need to gather the following tools and materials:
* Tools: Saw, drill, screwdriver, measuring tape, pencil, clamps, sander, router (optional), wood glue, screws, finish (paint or stain).
* Materials: Drawer slides, drawer boxes (plywood, MDF, or solid wood), drawer fronts, drawer knobs or pulls.
Building the Drawer Boxes

Now that you have your cabinet dimensions and materials, it’s time to build the drawer boxes themselves. This involves cutting and assembling the sides, front, back, and bottom of the drawer, creating a sturdy and functional component for your kitchen cabinet.
Cutting and Assembling the Drawer Box Components, How to build sliding drawers for kitchen cabinets
To ensure accurate cuts and precise assembly, you will need a table saw, a router, and other woodworking tools. The first step is to cut the drawer box components to the desired dimensions, taking into account the thickness of the material and the desired drawer depth.
- Sides: Cut two pieces of plywood or hardwood to the desired height and width. These pieces will form the sides of the drawer box.
- Front and Back: Cut two pieces of plywood or hardwood to the desired length and width. These pieces will form the front and back of the drawer box.
- Bottom: Cut one piece of plywood or hardwood to the desired length and width. This piece will form the bottom of the drawer box.
Next, you will need to create joints to connect the components of the drawer box. Two common joint types for drawer boxes are dado joints and rabbet joints.
- Dado Joints: Dado joints are created by cutting grooves into the sides of the drawer box components, allowing the front, back, and bottom to fit securely into the grooves. This creates a strong and stable connection. You can use a dado blade on a table saw to create dado joints.
- Rabbet Joints: Rabbet joints are created by cutting a recess along the edge of the drawer box components. The front, back, and bottom are then inserted into these recesses. Rabbet joints are typically used when the drawer box components are thinner than the thickness of the dado blade.
Once you have cut the components and created the joints, you can assemble the drawer box. Apply wood glue to the joints and clamp the components together, ensuring they are aligned and square. Allow the glue to dry completely before proceeding to the next step.
Attaching Drawer Fronts and Finishing Touches
After the drawer box is assembled, you can attach the drawer front. The drawer front is the visible part of the drawer that is typically made of a different material than the drawer box itself.
- Drawer Front Attachment: The drawer front can be attached to the drawer box using various methods, such as screws, dowels, or a combination of both. Choose a method that provides a secure and durable connection.
- Finishing Touches: Once the drawer front is attached, you can apply finishing touches to the drawer box, such as sanding, staining, or painting. Sand the drawer box to smooth out any rough edges and create a uniform surface. Apply a stain or paint to the drawer box to achieve the desired color and finish.
Installing the Drawer Slides and Drawers: How To Build Sliding Drawers For Kitchen Cabinets
Now that you’ve built the drawer boxes, it’s time to install the slides and attach the drawers. Choosing the right type of slide is crucial for smooth operation and durability.
Types of Drawer Slides
The type of drawer slide you choose will depend on the weight of your drawers, the desired extension, and your budget. Here are the most common types:
- Side-Mount Slides: These slides are mounted to the sides of the drawer box and are the most common type. They offer a good balance of affordability and performance, with options for partial or full extension.
- Under-Mount Slides: These slides are mounted to the bottom of the drawer box, offering a clean, concealed look. They are often used for heavier drawers and provide full extension.
- Full-Extension Slides: These slides allow the drawer to fully extend, providing easy access to the contents. They are available in both side-mount and under-mount configurations.
Installing the Drawer Slides
- Determine the Slide Position: Measure the width of the cabinet opening and the drawer box. Subtract the drawer box width from the cabinet opening width, and divide the result by two. This will give you the distance from the edge of the cabinet to the center of the slide.
- Mark and Drill Pilot Holes: Use a pencil to mark the slide positions on the cabinet sides or bottom (depending on the slide type). Drill pilot holes at the marked locations to prevent the wood from splitting when you screw in the slides.
- Mount the Slides: Align the slides with the marked positions and secure them to the cabinet using screws. Ensure that the slides are level and parallel to each other.
- Attach the Drawer Boxes: Install the drawer boxes to the slides by aligning the mounting brackets on the drawer box with the slide rails. Secure the brackets to the slides using screws.
Testing and Adjusting the Drawers
Once the drawers are attached, test their operation. Open and close the drawers several times to ensure they slide smoothly and without sticking. If you encounter any issues:
- Adjust the Slide Alignment: If the drawers are sticking, check the slide alignment. Make sure the slides are parallel and level. You may need to loosen the screws and adjust the position of the slides slightly.
- Lubricate the Slides: Apply a small amount of lubricant, such as dry Teflon spray, to the slide rails. This will help to reduce friction and ensure smooth operation.
- Tighten Loose Screws: Check the screws that attach the slides to the cabinet and the drawer boxes. Tighten any loose screws to prevent the slides from moving out of position.
How to build sliding drawers for kitchen cabinets – Constructing sliding drawers for kitchen cabinets requires careful consideration of weight distribution and friction reduction. For added security, one might consider incorporating a double cabinet door lock mechanism on the cabinet doors themselves, ensuring that valuable items remain safely out of reach.
Ultimately, the success of any kitchen cabinet project hinges on meticulous planning and execution, ensuring both functionality and aesthetic appeal.
The construction of sliding drawers for kitchen cabinets often involves meticulous attention to detail, ensuring smooth operation and durability. While traditional cabinets utilize standard drawers, a unique design element could be incorporated by referencing the demilune cabinet with marble top , which features a curved front that could be adapted for drawer fronts, adding a touch of sophistication to the kitchen.
This approach seamlessly blends functionality with aesthetic appeal, enhancing the overall kitchen design.

